
Welcome to the first installment of Teatime! At my day job, Teatime has become a tradition, growing out of one of the webteam’s lead’s weekly team meeting to become a department-wide celebration of learning and knowledge… or something like that 🙂 Every week, in one of our larger conference rooms, I set up tea and cookies and a presentation on some aspect of quality. I take the term pretty loosely; my audience is mostly technical folks, so I tend to dig into topics that, when properly understood, can lead to better quality code as well as topics about testing and the art of writing tests.
For today, however, I’m going to touch on a topic near and dear to my heart: How to make a good cup of tea.
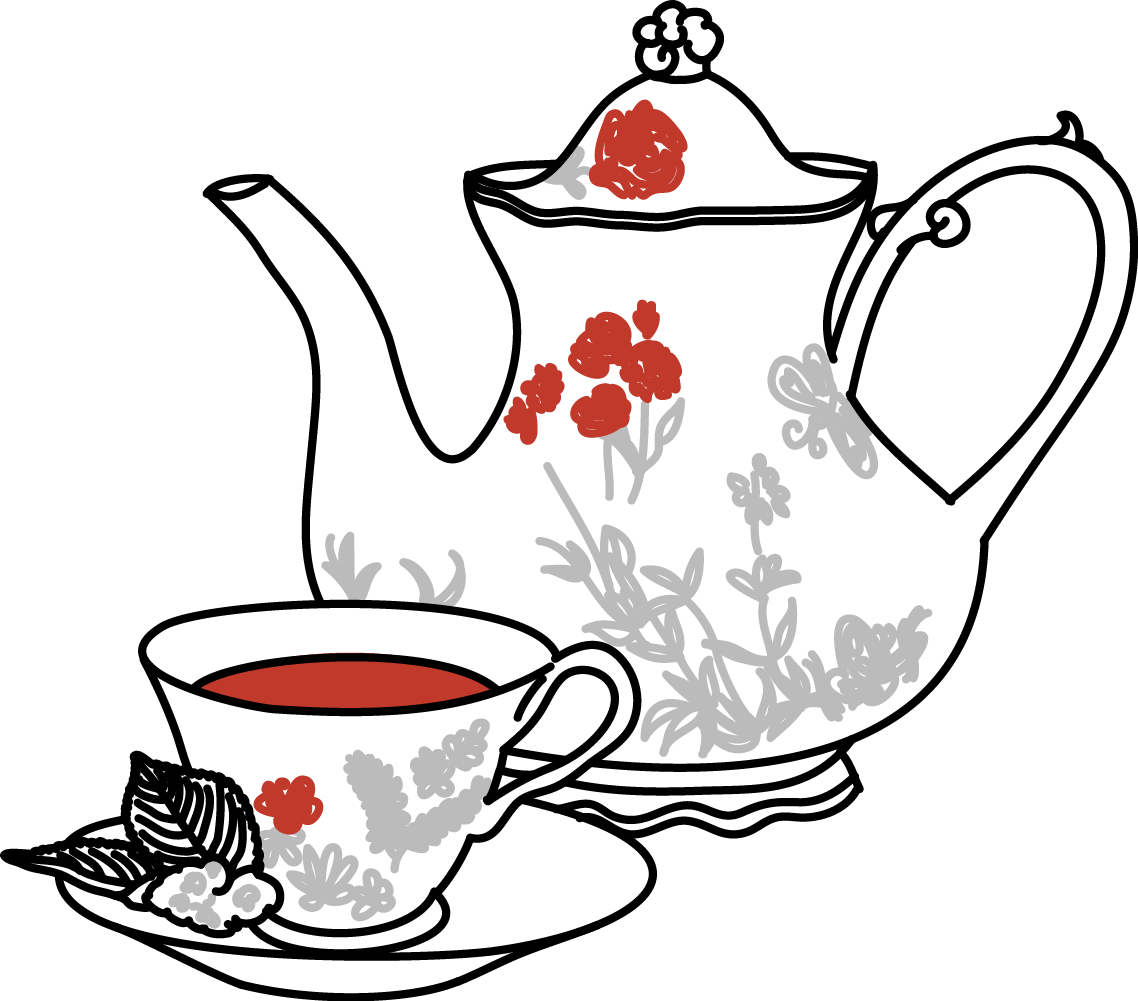
QA Teatime presents: How to make tea
Step one: Gather ingredients
First of all, some terminology: if it doesn’t contain leaves from the tea plant, for these purposes, it’s not tea. Tisanes (known as “herbal teas” in America) are quite lovely, but out of scope for this guide. That leaves three major categories: Black tea, Green tea, and White tea.[1]
Black tea is your classic English tea: it’s strong, closer to coffee than the other teas, and generally popular. There are many varieties of tea, but for the most part you’re looking at Ceylon, Assam, and Darjeeling to start out with. If you’re new to the game, I suggest an English Breakfast, which is a blend of Ceylon and Assam designed to be bold and smooth. If you don’t like it bold and rugged, I’d suggest an Earl Grey or Lady Grey, which are a gentler blend with citrus oil or lavender mixed in, respectively.
Green tea is more popular in Japan than in England; it has a decidedly grassy flavor that’s very love-or-hate. I fall on the hate side of the spectrum, sadly, but my husband is rather more of a fan than I am. You typically see Gunpowder or Jasmine as your classic, unadulterated flavors, but my husband is quite fond of Genmaicha, which has toasted rice in it to enhance the flavor.
White tea is basically green tea, but more so. It’s less processed, so it’s got a more delicate, grassy flavor than even Green tea. I don’t personally drink it, so I can’t speak much to the best variety. If you like Green tea, though, it might be worth a shot.
The best cup of tea starts with the best leaves. However, for the budget-conscious, there are many options that don’t break the bank 🙂 First and foremost, however, I have to caution you: if you want a good cup, do not use teabags! These are made of scraps left over from the process of manufacturing loose-leaf tea, sometimes swept up off the floor of the factory. It’s reasonably inexpensive these days to get yourself set up for loose-leaf tea instead.
You will need:
- A kettle. This can be electric or stovetop; the purpose is to boil water quickly.
- A teapot. This does not go on the heat; the purpose is to steep the tea. I like cast iron because it holds heat longer, but it’s more traditional to use a porcelain one, optionally with a cosy (which is like a sweater for the teapot). If your teapot does not have a filter, you may need to buy one separately.
- A mug. You want this to be fairly small, maybe 6 ounces at most. Otherwise your tea will get cold before you finish savoring it.
- A spoon. I like to re-use the one measuring spoon I use to measure my tea to also measure sugar (when it’s not in cube form) and stir the mug, but you can grab two if you prefer.
- Milk or cream. I have had good success with soymilk, half-and-half, and liquid non-dairy creamer as well, though I’d steer clear of the powdered stuff.
- Sugar or your preferred sweetener. I use honey in my tisanes, but I prefer sugar for my tea proper as it changes the flavor less.
Step 2: Prepare the pot
The first step here is to boil the water in the kettle. For black tea, you want just shy of a full boil; I like to bring the water to a boil and then let it cool a couple degrees, but purists will say not to let it boil in the first place, as it can affect the oxygen levels in the water. Green and white teas, however, need a much cooler temperature (around 170-18oF), or the leaves will cook slightly and ruin the delicate flavor. Oolong teas fall somewhere in between, depending how processed they are.
While the water boils, fill the pot with hot water from the tap. You never want to use water from the tap to make tea, as water heaters can impart off flavors to the water, but you do want the teapot to be nice and warm when you brew your leaves. Other solutions involve hotplates and warmers that involve suspending the pot over a small candle. Feel free to warm the cup as well.
When the water is ready, measure the tea into the basket; the packaging should tell you how much to use. Pour just a little water over the tea, to rinse the leaves, then dump it out the spout, taking the loose powdery bits with it. Then fill the teapot and set your timer — I like four minutes for my black teas, but people do as little as two and as much as five minutes.
Step 3: Enjoy!
When the tea is fully steeped, remove the leaves from the water and set aside. Now you can take the pot to your preferred sipping area. You’ll want to add milk to the tea, much like how coffee drinkers take cream in their coffee; drinking it black is only for those who really like bitter flavors. Similarly, add sugar to taste. Sip slowly and savor the flavors 🙂
Troubleshooting tips: If the tea is a hint too bitter, add more milk. If you’re not getting the full expression of flavor you expected, try a bit more sugar, sometimes it can bring out the other flavors. If your tea is too weak, you needed to have added more tea when steeping; steeping longer just makes it more bitter. If it’s excessively bitter with an odd after-taste, you over-steeped (or it’s bad tea).
[1]Rooibos tea, also known as Red Tea, is technically a tisane, but can be prepared as though it were a decaf Black Tea.