
Now that we have containers, we need to push them to our subprod environments so they can be tested. Bear with me, this is where things get a little complicated.
Docker Setup
Most people take the easy way out when they move to docker: they ship their containers to the cloud and let someone else manage the installation, upgrades, and maintenance on the docker hosts. We don’t do things the easy way around these parts, though, so we have our own server farm: a series of VMs in our datacenter. Everything below the VM is maintained by another team; my team is responsible for the software layer of the VM, and the containers that run on top. We have a handful of servers in our sub-prod environments, and then a handful more in our various production DMZs.
For management, most people seem to choose Kubernetes, but again, we don’t do things the easy way around here, so we went with a less popular product called Rancher. Now, Rancher is a management interface that can sit on top of a number of underlying technologies, including Kubernetes, but we chose to use their house-brand management system, called Cattle, instead. They were nice enough to give us a bunch of training in Docker, including the advice that forms the basis for their theme: if servers were pets, carefully maintained and fed over the years, containers should be like cattle, slaughtered and replaced as soon as they seem to be ill so they don’t infect the whole herd.
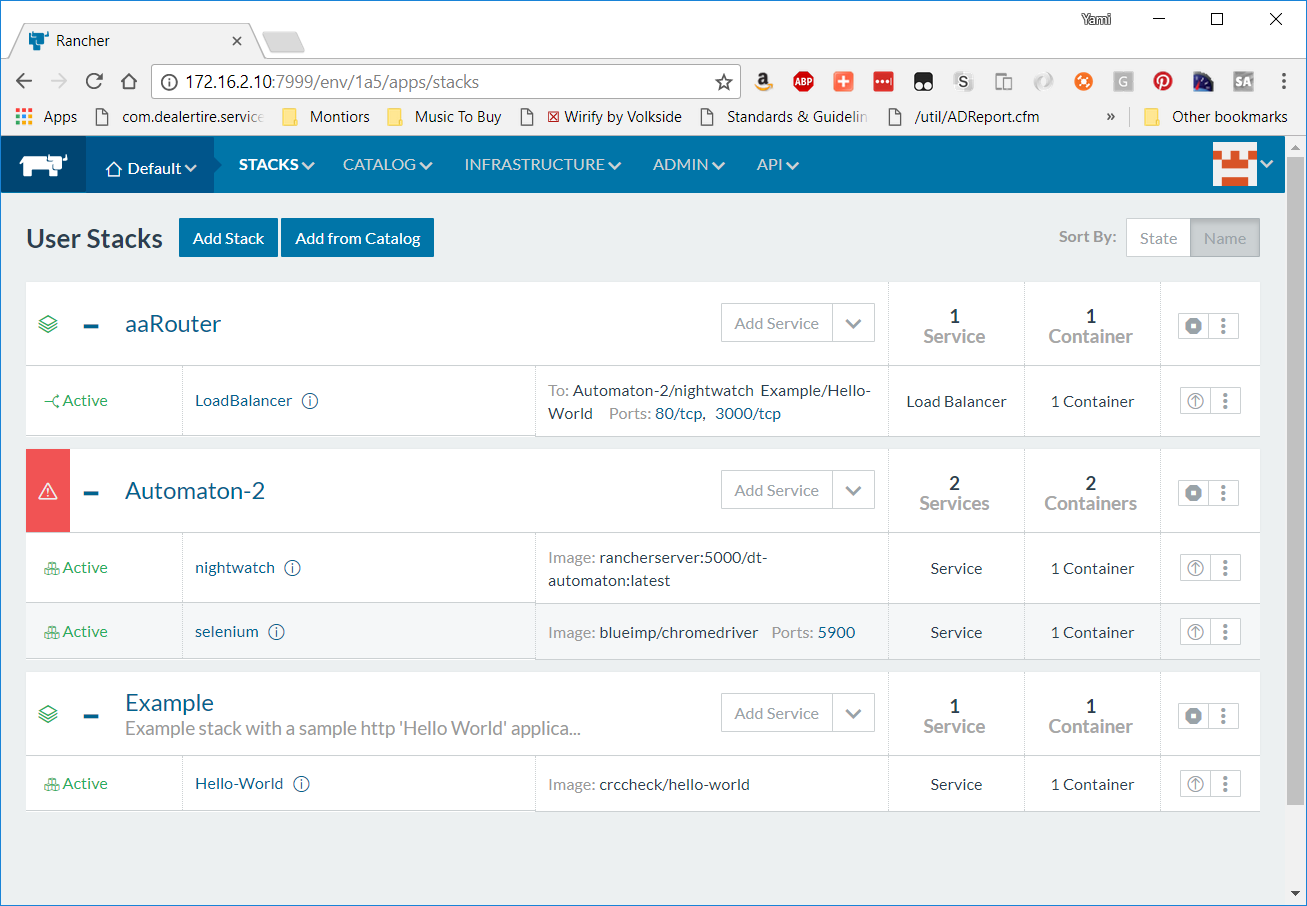
Rancher is a really great tool if you’re working in the GUI. It has the concept of an Environment (which we use to separate dev from QA from demo), which spans across one or more Hosts (the servers that run Docker and manage the containers). Inside the Environment are Stacks, which are a collection of related containers with a name. It also handles a lot of the networking between containers, as it comes with its own DNS for the internal container network so you can just resolve Stackname/ContainerName to find a given container in your Environment. You can upload a docker-compose.yml file to create a stack if you’re using Compose, and the extra metadata Rancher uses can be stored in a rancher-compose.yml that also can be uploaded when you make a stack.
Deployment
Manual deployment is super easy in Rancher: create a new stack, add services, paste in the container name from our build step, and let it handle everything else. Moving between environments manually once it works in dev is also easy: download the compose files, then upload them into the next environment. But we’re doing CI/CD, and the developers are constantly asking how they can speed up their release schedule. How do we do this automatically?
There’s two tools that come with Rancher that can help here. One is the extensive API; pretty much everything you can do in the GUI can be done via the JSON-based REST API. The other is the pair of command-line tools they produce: Rancher-compose and Rancher CLI. Since I was also trying to release quickly, I used the API for my initial round of deployment scripts; in a later post, I’ll talk through how I’ve begun to convert to using the CLI commands instead, as I feel they’re faster and cleaner.
For Bamboo, I needed something that could run in a Deploy Project that would update the stack in a given environment. I decided to write a Node.JS script, because when all I have is a node-shaped hammer every build script becomes a nail 😉 (Actually, it was so our Node developers could read the script themselves). I didn’t do much special here, just your standard API integration using a promise-based architecture; however, this is a chunk of a bigger library I decided to write around Rancher, so you’ll see a lot of config options:
function findStack(stackName, environment) {
    return request({
        uri: `${opts.url}/v2-beta/projects/${opts.projectIDs[environment]}/stacks?name=${stackName}`,
        auth: {
            username: opts.auth[environment].key,
            password: opts.auth[environment].secret
        },
        json: true// Automatically stringifies the body to JSON
    });
}

function getContainerInfo(environment, stackName, containerName) {
	log(`Getting container info for ${containerName}`);
	return findStack(stackName, environment)
	.then((body) => request({
		method: 'GET',
		uri: `${opts.url}/v1/services/?environmentId=${body.data[0].id}&name=${containerName}`,
		auth: {
			username: opts.auth[environment].key,
			password: opts.auth[environment].secret
		},
		json: true // Automatically stringifies the body to JSON
	}));
}

function performAction(serviceId, action, environment, launchConfig, stackName) {
    update(`Performing action ${action} on service ${serviceId}`, 'info', stackName);
    return request({
        method: 'POST',
        uri: `${opts.url}/v1/services/${serviceId}/?action=${action}`,
        body: {
            'inServiceStrategy': {
                'batchSize': 1,
                'intervalMillis': 2000,
                'startFirst': true,
                'launchConfig': launchConfig
            }
        },
        auth: {
            username: opts.auth[environment].key,
            password: opts.auth[environment].secret
        },
        json: true
    });
}

    performServiceUpgrade: function (stackName, containerName, environment, image) {
        update(`Upgrading ${containerName} in stack ${stackName} in ${environment} to image ${image}`, 'info', stackName, environment)
        return getContainerInfo(environment, stackName, containerName).then((body) => {
            if (body.data.length <= 0) {
                throw new Error(`Could not find service ${containerName} in stack ${stackName} in ${environment}`);
            }
            let serviceId = body.data[0].id;
            let launchConfig = body.data[0].launchConfig;
            launchConfig.imageUuid = image;

            return performAction(serviceId, 'upgrade', environment, launchConfig, stackName)
            .catch((err) => {
                if ((err.statusCode == 422 || err.status == 422) && opts.retries.on422) {
                    log('Detected invalid state. Rolling back to retry.', 'info', stackName)
                    return performAction(serviceId, 'rollback', environment, launchConfig, stackName)
                        .then(() => this.waitForActionComplete(stackName, containerName, environment, 'active', stackName))
                        .then(() => performAction(serviceId, 'upgrade', environment, launchConfig, stackName));
                } else {
                    log('Detected error condition. Aborting', 'error', stackName)
                    throw err;
                }
            })
            .then(() => this.waitForActionComplete(stackName, containerName, environment, 'upgraded', stackName))
            .then(() => serviceId);
        });
    }
I highlighted lines 54 and 55, however, because they are a little strange. Rancher lets you update anything about a service using the same endpoint, which is kind of nice and kind of rough: I need to specify every single attribute of the service, or it’ll assume I meant to blank out the setting (rather than assuming I meant to leave it unchanged). To make this easier, I captured the existing launch configuration, then changed the container number and sent it back.
Upgrading a service in Rancher is a two-step process: first, you upgrade, which launches a copy of the new container for every copy of the existing container, and then you “finish” the upgrade, which removes the old containers. This is so that if there’s a problem with the new container, you can issue a “rollback” action, which turns the old containers back on and removes the new ones — much faster than trying to pull a fresh copy of the old container back. However, this means sometimes you’ll be trying to upgrade while it’s in an “upgraded” state, waiting for you to finish or roll back. When that happens, Rancher issues a status code 422. My library optionally rolls back and issues the upgrade action again if it encounters this state.
The hardest part was figuring out how to figure out when Rancher was done upgrading. Some of our images are huge, particularly the ones that contain monoliths we’re still in the process of breaking up; it can take several minutes for these containers to download and start up. Eventually, I settled on a polling-based strategy:
waitForActionComplete: function(stackName, containerName, environment, desiredState) {
    update('Waiting for upgrade to complete', 'info', stackName, environment);
    return new Promise((resolve, reject) => {
        //Wait for the service to finish upgrading
        let retries = opts.retries.actionComplete;
        function checkState() {
            getContainerInfo(environment, stackName, containerName).then((body) => {
                let container = body.data[0];
                log('Current state: ' + container.state);

                //Check if upgrade is done
                if (container.state == desiredState) {
                    log('Action complete');
                    return resolve();
                } else {
                    retries--;
                    if (retries < 0) {
                        return reject('Timed out waiting for action to complete');
                    }
                    log(`${retries} left, running again`);
                    return setTimeout(checkState, 1000);
                }
            });
        }
        setTimeout(checkState, 500);
    });
}
This will keep running the checkState function until either the container’s state enters the desired state, or it runs out of retries (configured in the config for the library). I’ve had to tune the number of retries several times; right now, for our production deploy, it’s something outrageous like 600.
This library is called from a simple wrapper for Bamboo’s sub-prod deploys; for production, however, I got a lot trickier. Stay tuned for that write-up next week!